
Old-Fashioned Oatmeal Chocolate Chip Cookies: A Soft, Chewy Classic You Can Bake in About 20 Minutes
A classic cookie worth keeping in your regular rotation
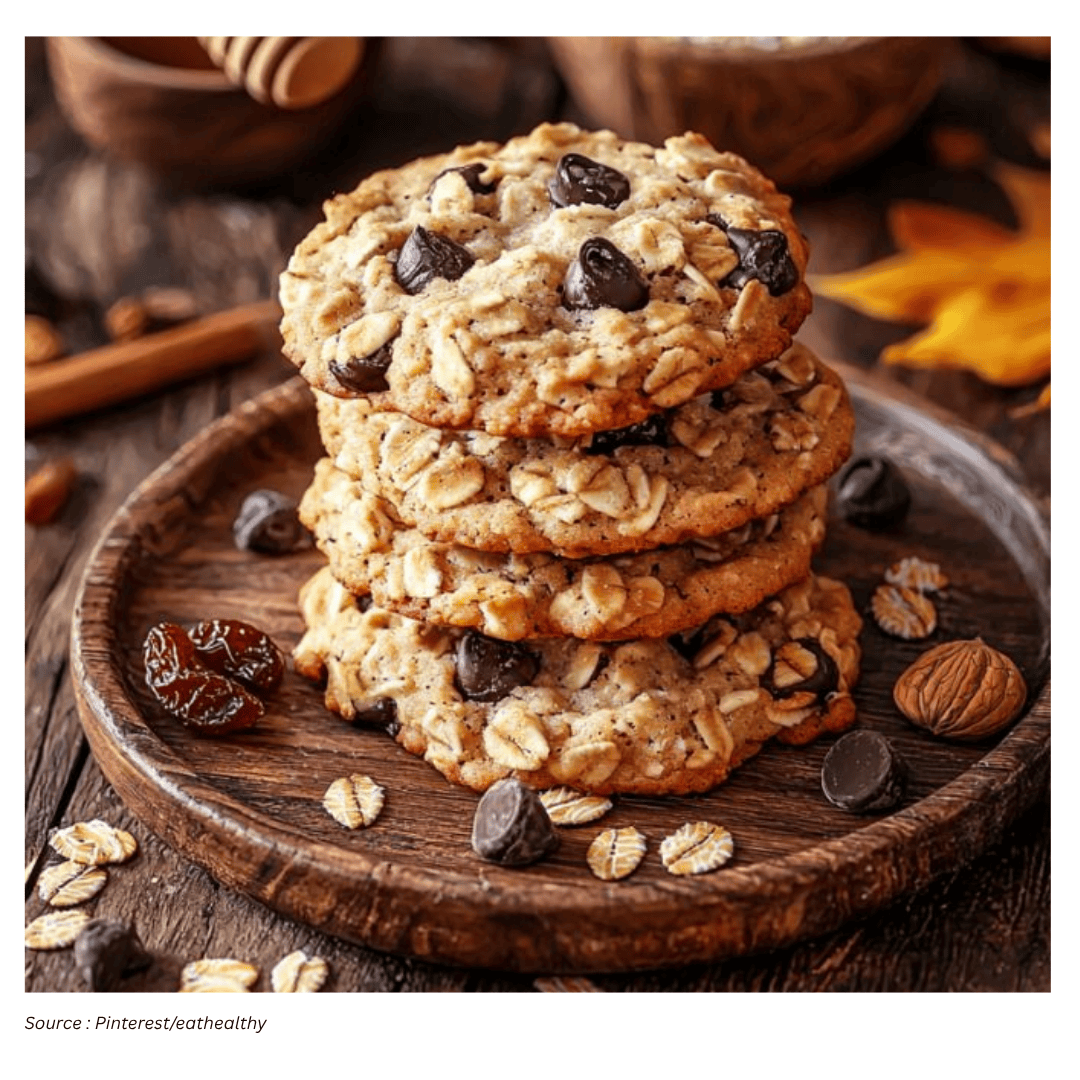
There are a few recipes that earn permanent status in a home baker’s repertoire, and a dependable oatmeal cookie is one of them. This old-fashioned oatmeal chocolate chip version checks all the boxes: soft and chewy centers, a hearty bite from rolled oats, and chocolate chips that melt into the dough so you get sweetness in every mouthful. The overall effect is both familiar and satisfying—nutty oats, buttery dough, and that unmistakable warm-cookie aroma that feels instantly comforting.
Because the ingredient list leans on everyday staples and the bake time is short, these cookies are the kind you can make without a special occasion. At the same time, they’re presentable enough for gatherings, where the combination of oats and chocolate tends to appeal to a wide range of tastes. If you like cookies that are tender rather than crisp, and substantial rather than delicate, this is a practical, crowd-friendly option.
What makes this version “old-fashioned”
The defining choice here is the use of rolled oats. Rolled oats are heartier and less processed than quick oats, which helps create a more robust texture. In a cookie, that translates to a chew that feels wholesome and substantial, not cakey or fragile. The oats also contribute a gentle nuttiness that balances the sweetness of the sugars and the richness of the butter.
Chocolate chips are the natural partner. Oats provide structure and a toasty depth; chocolate chips provide pockets of sweetness and a soft, melty contrast. Together, they create the kind of cookie that tastes both classic and reliably satisfying.
Ingredients you’ll need
This recipe is built around common baking basics. You’ll need unsalted butter and eggs, plus rolled oats for that signature hearty chew. From the pantry, gather brown sugar, granulated sugar, all-purpose flour, baking soda, vanilla extract, and salt. And, of course, chocolate chips.
These are straightforward, familiar ingredients, but the way they’re handled matters. Softened butter, proper mixing, and careful baking time are what keep the final cookies soft and chewy rather than dry or overly crisp.
Step-by-step: how to make the cookies
The process is simple and designed to move quickly. You can prepare the dough, portion it, and bake in a short window, making it realistic for weeknights or last-minute baking.
- Line 2 baking sheets with parchment paper.
- Add the softened butter, brown sugar, and granulated sugar to a large bowl.
- Using a hand mixer, beat the mixture for about 3 minutes.
- Add the eggs and vanilla and beat again for 1 minute.
- In a separate bowl, whisk together the flour, baking soda, and salt.
- Gradually add the dry ingredients to the wet ingredients, mixing until just combined.
- Drop rounded tablespoons of dough onto the prepared baking sheets, spacing them about 2 inches apart (about 15 cookies per baking sheet).
- Bake for 10 to 12 minutes, or until the edges are set and lightly golden brown.
- Cool for about 5 minutes before serving.
That’s it: a classic cookie method with a short bake time. The key is to stop baking once the edges are set and lightly golden, because the cookies continue to firm up as they cool.
How to tell when they’re done (and why it matters)
One of the easiest ways to accidentally change the texture of a cookie is to bake it until it looks “fully done” in the oven. With this dough, you’re looking for a golden-brown outer rim. The centers may still look soft when you pull the trays out, and that’s the point. As the cookies cool, they firm up. Leaving them in longer can dry them out and push the texture toward crisp rather than chewy.
Plan for a short cooling period on the tray—about 5 minutes—before serving. This brief rest helps the cookies set up without losing the soft interior that makes oatmeal chocolate chip cookies so appealing.
Smart make-ahead options: freezing the dough
This recipe makes a generous batch, which is useful if you’re baking for a group or simply want cookies on hand. One practical approach is to freeze half of the dough so you can bake fresh cookies later without repeating the full prep.
There are two effective freezing methods:
- Freeze as a larger portion: Wrap the dough in plastic wrap, place it in a freezer-safe container, and freeze for up to 3 months.
- Freeze as individual portions: Scoop the dough into individual cookie portions, lay them out on a tray to freeze, then transfer the frozen portions to a freezer bag.
The second method is especially convenient if you like the idea of baking a small number at a time. Having pre-portioned dough ready to go can turn “I want cookies” into a quick bake rather than a full baking project.
Ingredient substitutions that keep the recipe flexible
One advantage of a classic cookie formula is that it can handle a few swaps, letting you work with what you have. Several substitutions are possible here, with predictable changes to flavor and texture.
- Unsalted butter to salted butter: If you use salted butter, you can skip adding the salt listed in the recipe.
- Butter to coconut oil: Melted coconut oil can replace butter. A refined coconut oil is the best choice if you don’t want coconut flavor in the cookies.
- Brown sugar adjustments: Replacing brown sugar with additional granulated sugar will result in a crispier cookie.
- Vegan option: Use dairy-free butter and flax eggs. For 2 flax eggs, mix 2 tablespoons of ground flax seeds with 5 tablespoons of water, then let the mixture sit for 10 minutes to gel. If you’re going vegan, use dairy-free chocolate chips as well.
- Oat choice: Rolled oats are the standard here. Quick oats can be used for a slightly less chewy cookie, but avoid steel-cut oats.
These swaps are helpful when you’re baking with pantry constraints or dietary preferences in mind. It’s also useful to know in advance what each change is likely to do—especially the sugar swap, which can shift the cookie from chewy toward crisp.
Mix-ins to customize flavor and texture
Once you have a dependable base, it’s easy to tailor the batch. This dough welcomes add-ins that bring crunch, chew, or a different kind of sweetness, while still keeping the oatmeal-and-chocolate foundation intact.
- Nuts for crunch: Chopped walnuts or pecans add texture and nuttiness. Add about ½ cup at the end when you fold in the chocolate chips.
- Dried fruit for a different sweetness: Dried cranberries, cherries, or raisins are all good options.
These additions can make the cookies feel more personalized without complicating the method. If you’re serving a group, they also offer an easy way to create variety from a single dough.
Technique tips for consistently soft, chewy cookies
Even a simple cookie can turn out differently depending on small details. The good news is that the most important points here are easy to control.
1) Soften the butter—don’t melt it. The butter should be softened but not too soft or melted. A reliable guideline is to let it sit on the counter for 30 to 60 minutes. It’s ready when you can press it lightly and your finger leaves a small indent. If you forgot to take it out ahead of time, you can speed things up by cubing the butter and laying it out in a single layer; this can reduce the softening time to about 5 to 20 minutes. There’s also a mesh-strainer trick for bringing butter to room temperature quickly.
2) Mix only until combined. When you combine the wet and dry ingredients, avoid overmixing. Mix just until everything comes together. Overmixing can affect the final texture. If you prefer, using your hands is an effective way to control the mixing and stop at the right moment.
3) Give the cookies room to spread. Portion the dough as rounded tablespoons and space the mounds about 2 inches apart. The cookies spread as they bake, and proper spacing helps them bake evenly and keeps edges from merging.
4) Pull them when the edges are set. Bake for 10 to 12 minutes, watching for lightly golden edges. The cookies firm up during cooling, so there’s no need to keep them in the oven longer. Baking past that point can dry them out and make them crispy rather than chewy.
Serving and timing notes
Because the bake time is short, these cookies fit neatly into a quick baking session. Once the trays come out, a brief rest—about 5 minutes—makes them easier to handle and improves the texture. They’re enjoyable warm, when the chocolate chips are still soft, but the structure continues to settle as they cool.
If you’re baking for an event, the recipe’s simplicity is an advantage: the cookies are “fancy enough” to serve at a party while still being easy enough to make on a whim. And if you’re baking for yourself or family, the freezing option means you can enjoy the same fresh-baked experience later with minimal effort.
A dependable oatmeal chocolate chip cookie to bake now—and later
This old-fashioned oatmeal chocolate chip cookie recipe is built around the qualities most people want from a classic: soft and chewy texture, hearty rolled oats, buttery richness, and chocolate in every bite. It’s approachable for newer bakers, flexible for ingredient swaps, and accommodating for make-ahead planning thanks to freezer-friendly dough options.
Whether you keep it traditional or add nuts or dried fruit, the method remains straightforward: soften the butter properly, mix gently, space the dough, and bake just until the edges turn lightly golden. Do that, and you’ll end up with cookies that taste comforting and familiar—exactly what an old-fashioned oatmeal cookie should be.