
Homemade Pizza, Your Way: A Flexible Dough Method and Practical Topping Guide
Homemade pizza as a weeknight plan—and a hands-on kitchen project
Homemade pizza sits in a sweet spot between practical and memorable. It can be a straightforward dinner built from pantry basics, but it also turns into an activity—especially when more than one person is involved and everyone wants a say in the toppings. The steps are tactile and forgiving: mix, knead, let time do its work, then stretch and bake. Even if the dough feels a little “slimy and gross” in the early minutes of mixing, it typically transforms into something cohesive and workable with kneading and a proper rise. And when the timing and heat come together, the end result can be, as one enthusiastic review put it, “awesome.”
This guide walks through a classic approach to making pizza at home: a straightforward yeasted dough, a hot oven, and a few practical habits that make the process repeatable. The dough quantity is about 2 pounds—commonly enough for two pizzas in the 10- to 12-inch range. Along the way, you’ll find notes on flour selection, yeast activity, fermentation options, topping prep, shaping, and baking on a stone (plus alternatives if you don’t have one).
Start with the fundamentals: yeast, flour, and time
Pizza dough is a yeasted dough, which means the ingredient list is only part of the story. How active your yeast is, how you measure flour, and how long you let the dough ferment can matter as much as the recipe itself.
Yeast: confirm it’s alive before you commit
This method uses active dry yeast. Because yeast is a living ingredient, it’s worth confirming it’s still viable. Check the expiration date, and pay attention to what happens when yeast meets warm water. In a successful proof, the yeast begins to foam or “bloom.” If it doesn’t show signs of life within about 10 minutes, it’s likely dead, and the dough won’t rise as intended.
If you’re using instant yeast instead, proofing isn’t required. Instant yeast can be added directly with the dry ingredients during mixing.
Flour: bread flour for crispness, all-purpose for flexibility
Flour choice affects texture. Bread flour is often considered the best option for homemade pizza dough because it’s higher in gluten than all-purpose flour. More gluten generally supports a crust that bakes up crispier. All-purpose flour can still work well, but if your goal is a crisper crust, bread flour is the preferred pick.
Fermentation: schedule-friendly, with flavor as the payoff
Time is an ingredient you can adjust. You don’t have to let the dough rise overnight in the refrigerator, but longer fermentation tends to develop more flavor and can encourage air bubbles that puff in the oven. Some people even seek out those bubbled slices.
If you do choose a refrigerated rise, plan ahead for shaping: taking the dough out about an hour before you want to stretch it helps it come closer to room temperature, making it more cooperative and less prone to snapping back.
Measure flour consistently to avoid “mystery” wet or dry dough
One of the most common reasons dough feels unexpectedly wet or dry is inconsistent flour measurement. Cup measurements can vary widely depending on how the flour is scooped. A more consistent approach is to fluff the flour, lightly scoop it, and level it with a knife.
For the most repeatable results, a kitchen scale is the simplest upgrade: measuring flour by weight reduces batch-to-batch surprises and helps you learn what the dough should feel like at each stage.
A classic dough workflow (with stand mixer or by hand)
The process below is designed for a heavy-duty stand mixer, but it can be done without one. The key is to reach a dough that’s cohesive and slightly sticky or tacky—not dry and stiff, and not so wet that it can’t be handled.
- Yield: about 2 pounds of dough (often used as two 10- to 12-inch pizzas)
- Core idea: active yeast + kneading + a rise that fits your schedule + a very hot oven
Step 1: Proof the yeast (for active dry yeast)
Put warm water into the large bowl of a heavy-duty stand mixer. Sprinkle the active dry yeast over the water and let it sit for about 5 minutes to dissolve. Stir after 5 minutes if needed. The yeast should begin to foam or bloom, indicating it’s active.
If you’re using instant yeast, you can skip this proofing step and add the yeast with the dry ingredients in the next step.
Step 2: Mix, then knead until tacky
Add the flour, salt, sugar, and olive oil. Mix on low speed for about a minute using the paddle attachment, then switch to the dough hook. Knead on low to medium speed for 7 to 10 minutes.
No mixer? Combine the ingredients and knead by hand. The goal is the same: a dough that comes together and becomes elastic.
The dough should feel a little sticky or tacky. If it feels too wet, sprinkle in a little more flour. (This is also where consistent measuring pays off: you’ll be making smaller corrections rather than rescuing a dough that’s far off.)
Step 3: Oil the bowl and coat the dough for a smooth rise
Spread a thin layer of olive oil inside a large bowl. Place the dough in the bowl and turn it so it’s lightly coated. This helps prevent sticking and supports a smoother rise.
This dough can be timed to your schedule. The main difference between a shorter rise and a longer one is flavor development: longer fermentation generally produces a crust with more complex flavor (up to a point).
If you choose a refrigerated rise, remember to take the dough out about an hour before using it so it can warm slightly and stretch more easily.
Heat matters: set up the oven like a pizza oven (as much as possible)
A very hot oven and a stable baking surface help mimic the high heat of professional pizza ovens. Place a pizza stone on a rack in the lower third of the oven. Preheat to 475°F for at least 30 minutes—preferably an hour. The goal is to thoroughly heat the stone so it can deliver strong bottom heat to the crust.
No pizza stone? A pizza pan or thick baking sheet can work, as long as it won’t warp at high temperatures. The principle stays the same: you want a well-heated surface and a hot oven for a crisp base and good browning.
Divide and rest: the small step that makes stretching easier
Once the dough has risen, remove any plastic cover. Dust your hands with flour and gently push the dough down to deflate it slightly. Divide it in half to create two portions. Form each portion into a round ball, place each in its own bowl, cover with plastic, and let sit for 15 minutes (or up to 2 hours).
This rest period is more than convenience. It makes the dough easier to stretch without springing back, which can be the difference between a calm shaping process and a frustrating one.
Toppings: prep for speed, and don’t overload the crust
Pizza bakes quickly—often 10 to 15 minutes—so some toppings need attention before they ever touch the dough. Anything that won’t cook through in that time should be cooked first.
There’s also a structural reason to stay restrained: too many toppings can prevent the crust from crisping and can make the pizza soggy. A simple guideline is about a third of a cup each of tomato sauce and cheese per pizza. Even a small amount of sliced mushrooms—one to two mushrooms, thinly sliced—can cover a pizza once it’s spread out.
Here are topping ideas that fit the method, with the key prep notes included:
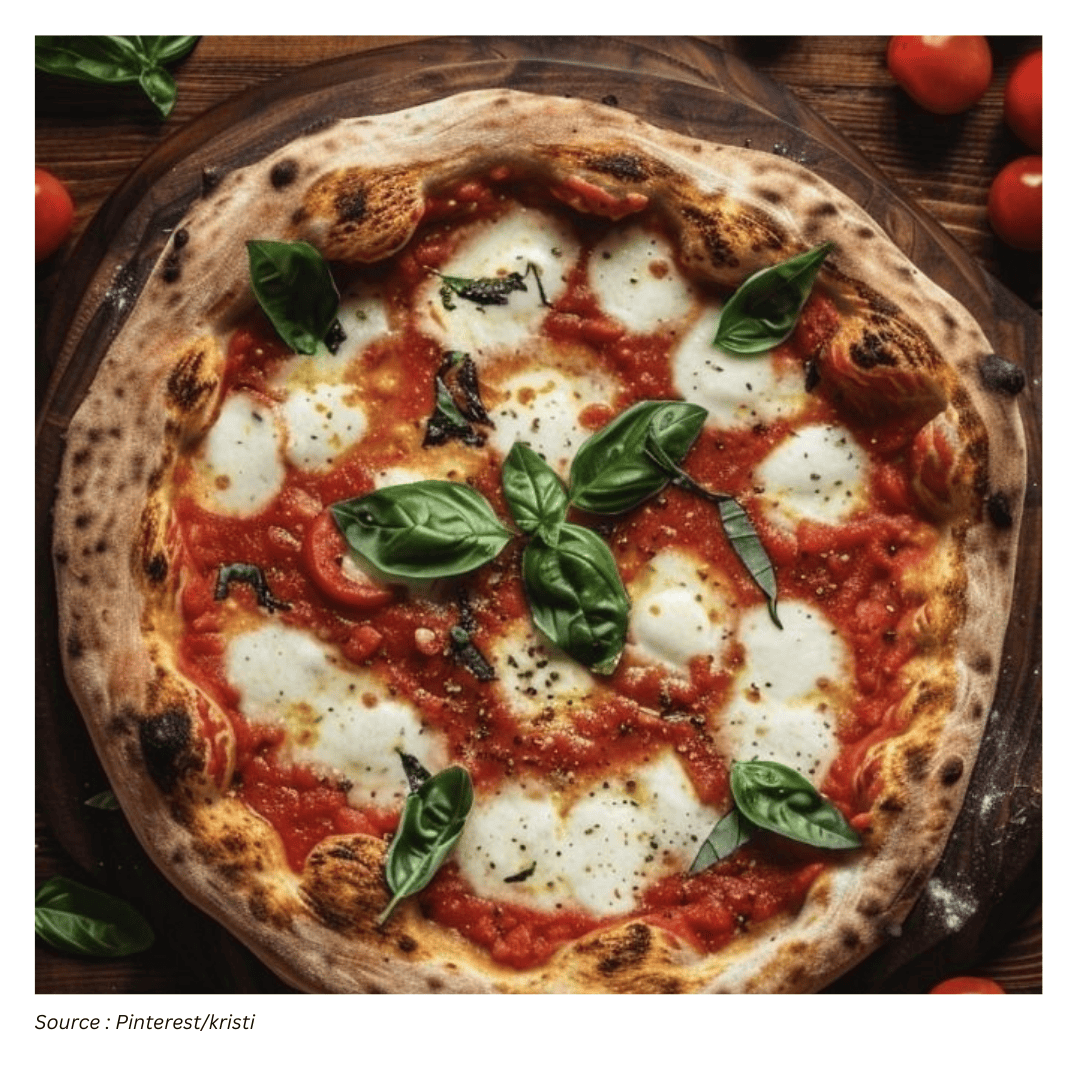
- Fresh soft mozzarella: use small clumps rather than large slabs for more even melting.
- Mushrooms: slice very thin if using raw; otherwise sauté first.
- Bell peppers: slice very thin so they soften in the short bake time.
- Italian sausage: cook ahead and crumble before topping.
- Onions: use thin slices raw, or caramelize ahead of time.
- Baby arugula: toss with a little olive oil and add right when the pizza comes out of the oven.
Shape the dough: stretch gradually, and let it rest if it fights back
Work with one ball of dough at a time. On a lightly floured work surface, flatten the dough with your hands. Starting at the center and working outward, press with your fingertips until the dough is about 1/2-inch thick, then turn and stretch it until it resists.
If the dough tightens and won’t stretch further, let it relax for about 5 minutes, then continue stretching until you reach 10 to 12 inches in diameter. You can also lift the edges with your fingers and let gravity help stretch the dough as you work around the perimeter.
If a hole appears, place the dough back on a floured surface and push it back together to seal. If the edge is thicker than you want, use your palm to flatten it. Pinch the edges if you’d like to form a lip.
Control bubbling and sogginess before the toppings go on
To reduce bubbling, press down with your fingertips to make dents along the surface. Then brush the top with olive oil. This thin coating helps prevent the crust from getting soggy under sauce and toppings. Let the shaped dough rest another 10 to 15 minutes.
Use cornmeal to help the pizza slide
Lightly sprinkle a pizza peel (or the back of a flat baking sheet) with cornmeal. Cornmeal acts like tiny ball bearings, helping the dough slide from the peel onto the hot stone.
Transfer the prepared dough onto the peel. If it loses shape during the move, gently reshape it. Spoon on tomato sauce, sprinkle with cheese, and add toppings—keeping the overall load light so the crust bakes crisp rather than steaming under excess moisture.
Bake hot and fast: 475°F for about 10 to 15 minutes
When you’re ready to bake, carefully sprinkle a little cornmeal on the baking stone in the oven. Gently shake the peel to confirm the pizza can slide. If it sticks, lift the edges and add a bit more cornmeal underneath.
Slide the pizza onto the stone and bake at 475°F, one at a time, until the crust is browned and the cheese is golden—about 10 to 15 minutes. If you like, you can sprinkle on a little more cheese toward the end of the cooking time.
For a simple finishing touch, baby arugula can be tossed in a little olive oil and added right as the pizza comes out of the oven.
Freezing dough for future pizza nights
Once the dough has risen, it can be frozen for later. Divide the dough into the portion sizes you plan to use (this recipe commonly becomes two 1-pound balls). Place each portion on parchment paper or a lightly floured dish and freeze uncovered for 15 to 20 minutes. Then transfer to individual freezer bags, pressing out as much air as possible. Store for up to 3 months.
To thaw, place the dough in the refrigerator overnight or for 5 to 6 hours. Before stretching, let it sit at room temperature for about 30 minutes.
Putting it all together: structure first, then personal touches
The appeal of homemade pizza is that it balances structure with choice. The structure comes from a dependable process: active yeast that blooms, a proper knead, a fermentation window that fits your schedule, and a very hot oven paired with a stable baking surface. The personal part starts once the dough is ready: how thin you stretch the center, whether you sauté mushrooms or slice them paper-thin, how lightly you apply sauce and cheese, and whether you finish with a handful of arugula.
Make this once and you’ll have a baseline. Make it again and you’ll start adjusting based on what you like—maybe a longer rise for more flavor, a lighter topping hand for more crispness, or a more patient stretch for a thinner center. Either way, the goal stays the same: pizza made to your taste, one bake at a time.